
DIY Camera Installation: A Step-by-Step Guide for Home Security
In an age where home security is paramount, installing your own security camera system can provide peace of mind without the hefty cost of professional installation. Whether you’re looking to monitor your front door, backyard, or indoor spaces, a well-placed camera acts as a deterrent and a vital recording tool. This comprehensive guide will walk you through everything you need to know, from choosing the right equipment to final configuration and maintenance, empowering you to secure your home with confidence.
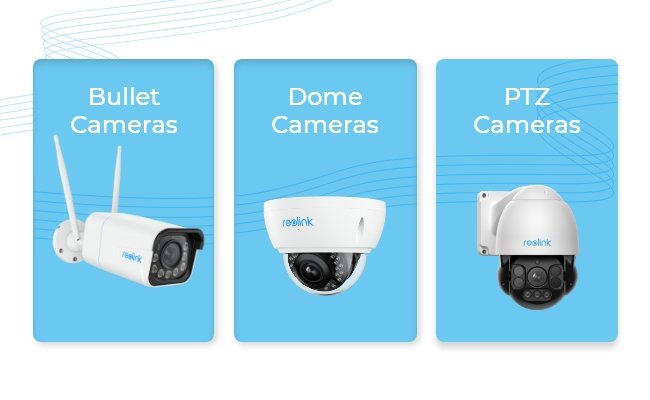
Choosing Your Camera & Optimal Placement
Before you even think about drilling, selecting the right camera type and identifying prime locations are crucial. Consider if you need wired or wireless cameras, indoor or outdoor models, and specific features like night vision, two-way audio, or motion detection. For outdoor cameras, look for high vantage points that cover entryways and vulnerable areas, ensuring they are out of easy reach. Indoors, focus on main living areas, hallways, and points of entry. Map out your coverage to minimize blind spots and maximize surveillance effectiveness.

Essential Tools and Materials
Having the right tools makes the installation process smoother and safer. You’ll typically need a drill (with appropriate bits for your mounting surface), screwdrivers, a ladder, cable ties or clips, and potentially a wire stripper/crimper if you’re dealing with wired Ethernet cables. Don’t forget safety gear like gloves and eye protection. For wireless cameras, ensure you have a strong Wi-Fi signal in the intended installation areas. For wired systems, consider the length and type of Ethernet or power cables required.
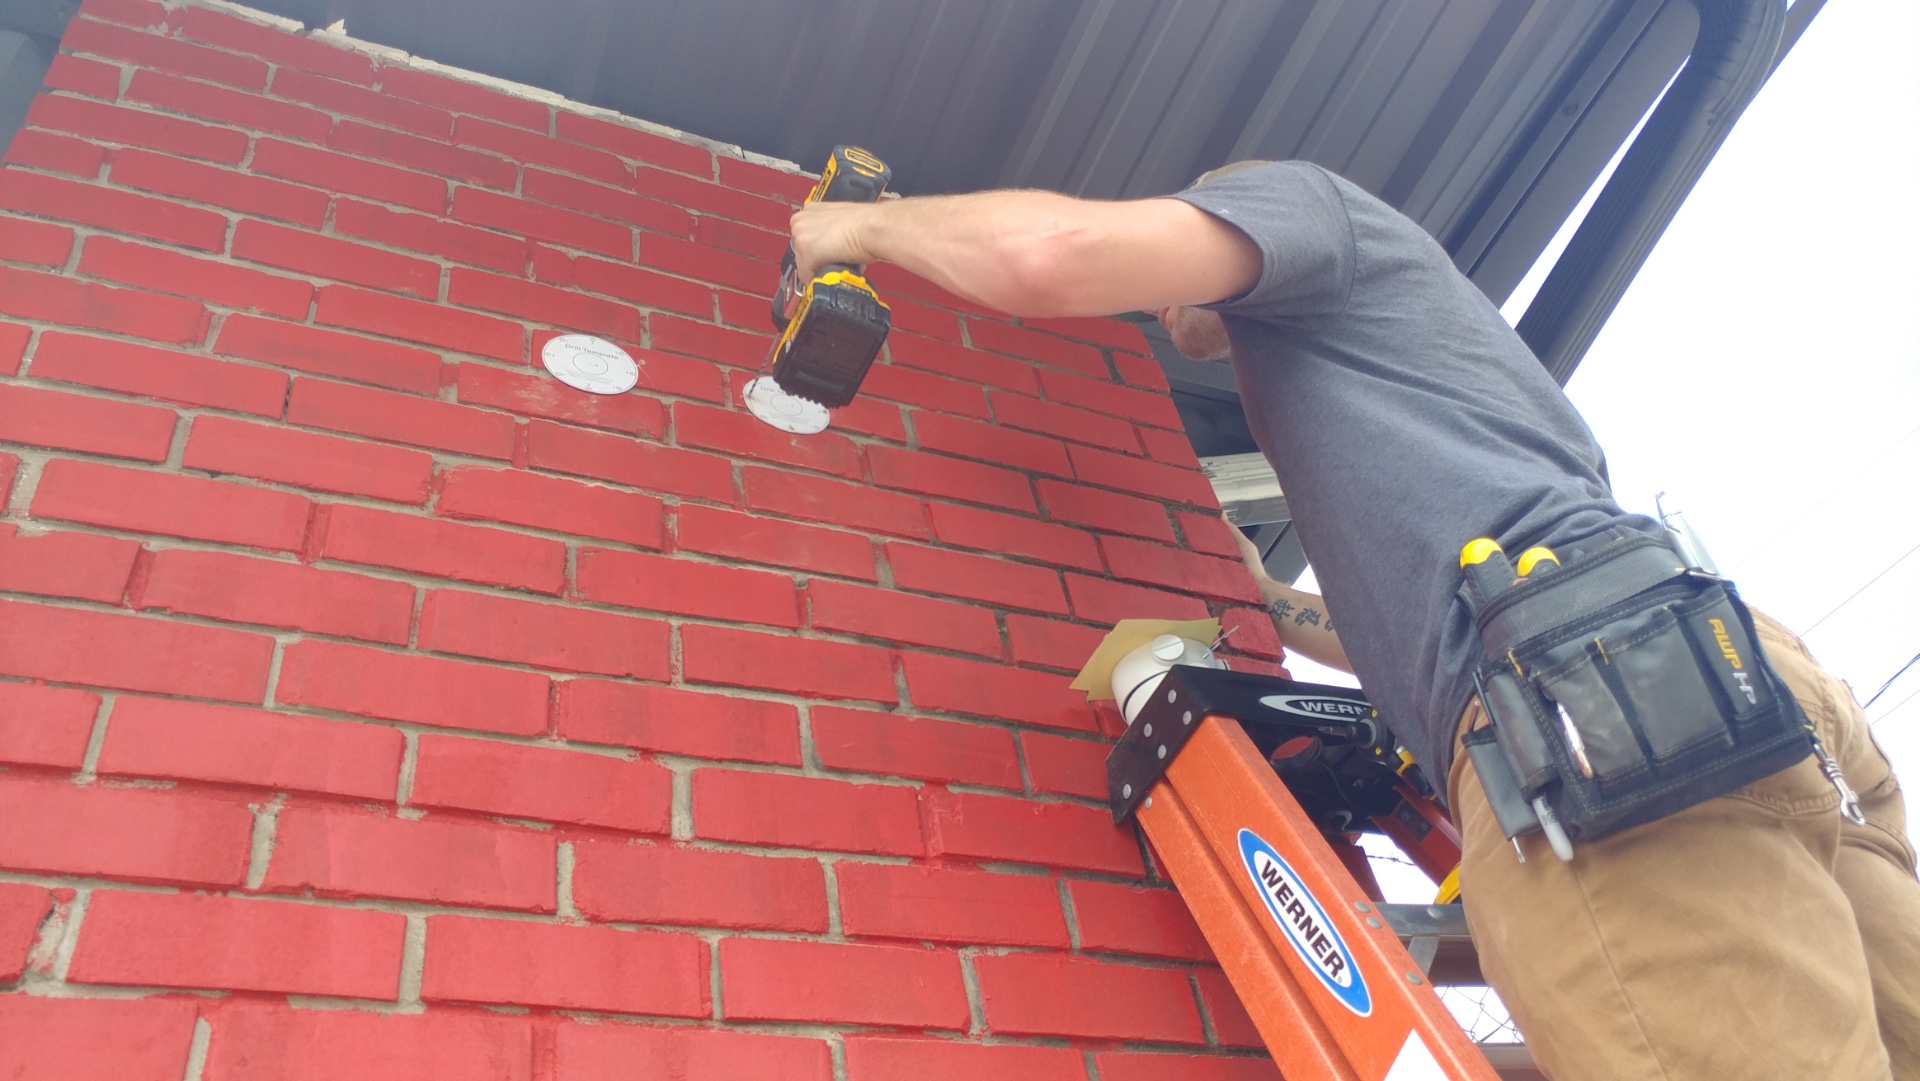
Mounting the Camera Securely
Once you’ve finalized your camera locations and gathered your tools, it’s time to physically mount the cameras. Use the mounting template provided with your camera (if any) to mark the drill holes. Drill pilot holes, then firmly attach the camera’s base to the wall or ceiling using the supplied screws and anchors. Ensure the mounting is stable and can withstand weather conditions if outdoors. For optimal security, aim to mount cameras high enough to prevent tampering but low enough to capture clear facial features and activity.
Connecting Power and Data (Wired Systems)
For wired cameras, cable management is key. Carefully route your Ethernet (PoE) or power and data cables along walls, under eaves, or through conduits to protect them from the elements and potential damage. Use cable clips or ties to keep them neat and secure. Connect the power adapter to a nearby outlet and plug the data cable into your network router or NVR (Network Video Recorder). Ensure all connections are snug and protected from moisture, especially for outdoor installations.
Wireless Camera Setup and Network Integration
Wireless camera installation typically involves fewer cables but requires a stable Wi-Fi connection. After mounting, power on your camera. Most wireless cameras connect to your home network via a mobile app. Follow the app’s instructions to pair your camera, usually by scanning a QR code or pressing a sync button. Ensure your Wi-Fi signal is strong enough at the camera’s location to avoid dropped connections or laggy footage. You may need to adjust your router’s position or use a Wi-Fi extender for optimal performance.
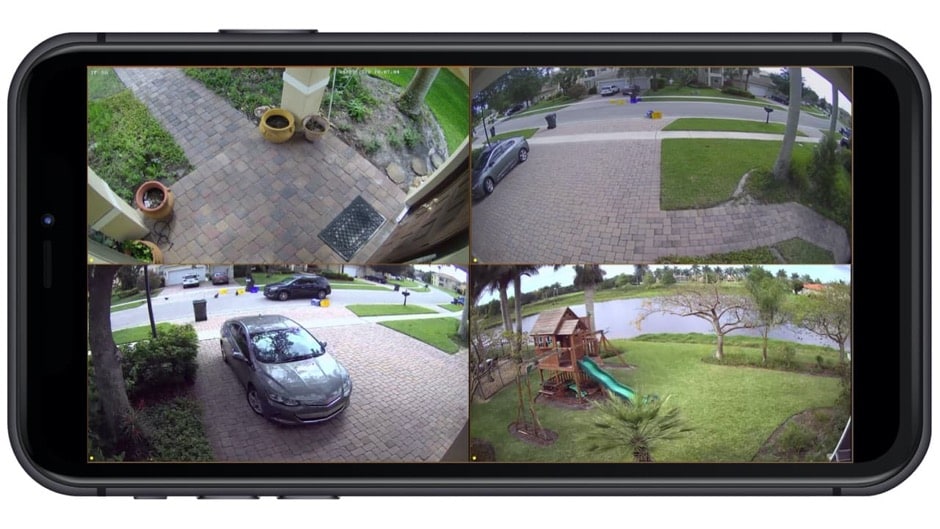
Configuration, Testing, and Optimization
With cameras physically installed and connected, the next step is configuration. Access your camera’s settings through the mobile app or web interface. Adjust the field of view to cover the desired area, set up motion detection zones, and configure recording preferences (continuous, motion-activated, scheduled). Test the live feed, motion alerts, and recording playback for each camera. Walk through the monitored areas to ensure the camera captures activity effectively. Fine-tune sensitivity settings to avoid false alarms from pets or swaying branches.
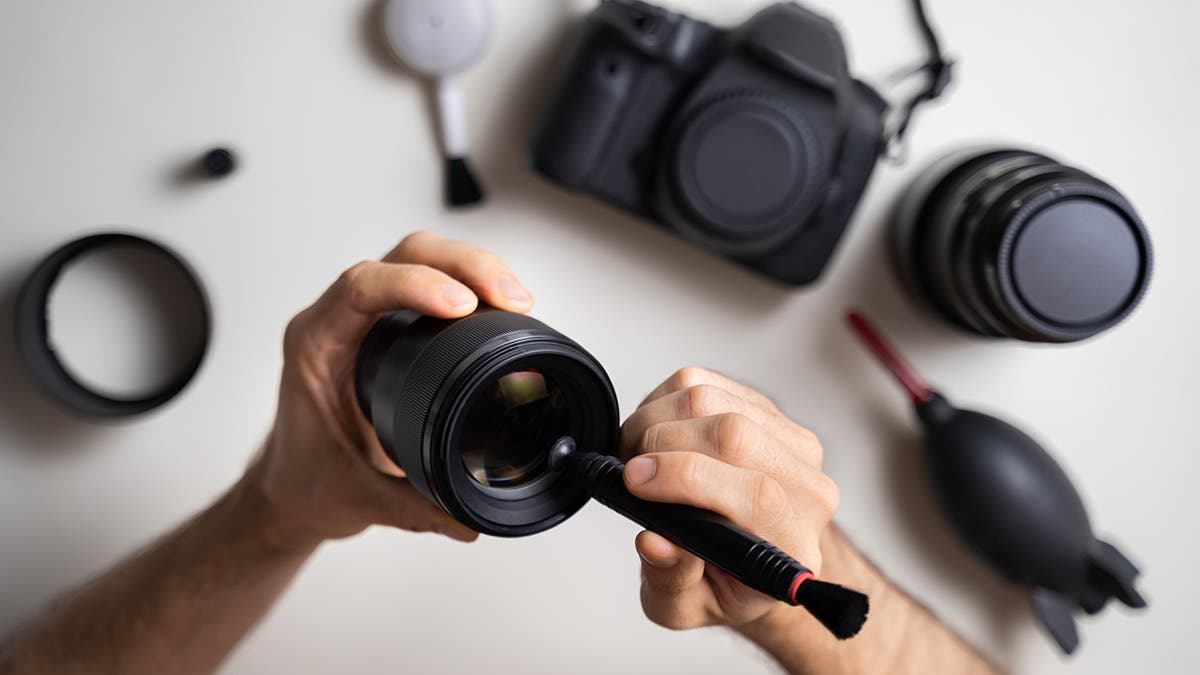
Maintenance and Maximizing Your Camera’s Lifespan
To ensure your security cameras continue to operate effectively, regular maintenance is essential. Periodically clean the camera lenses to remove dust, dirt, or spiderwebs that can obscure the view. Check cable connections for wear and tear, and ensure outdoor cameras are free from obstructions. Keep your camera’s firmware updated to benefit from the latest features and security patches. Regularly review recorded footage and adjust settings as needed to adapt to seasonal changes or environmental factors. Proactive maintenance will extend the life of your system and maintain optimal security.
Installing a security camera system might seem daunting at first, but by following these steps, you can successfully enhance your home’s security yourself. From selecting the right camera and tools to mounting, connecting, configuring, and maintaining your system, each stage is manageable with a little patience and attention to detail. Enjoy the peace of mind that comes with knowing your property is under vigilant watch, thanks to your DIY efforts!