
DIY Camera Installation: A Comprehensive Guide for Home Security
In today’s fast-paced world, ensuring the safety and security of your home has become more important than ever. While professional installations offer convenience, installing your own security camera system can be a rewarding and cost-effective DIY project. This guide will walk you through everything you need to know, from choosing the right camera to optimal placement, empowering you to take control of your home’s safety.
Why Install a Camera System?
The benefits of having a camera system extend beyond simple surveillance. Firstly, visible cameras act as a powerful deterrent to potential intruders, often making them think twice before targeting your property. Should an incident occur, recorded footage provides crucial evidence for law enforcement, aiding in identification and prosecution. Beyond security, cameras offer peace of mind, allowing you to monitor your children, pets, or even package deliveries remotely. You can keep an eye on your home while at work or on vacation, ensuring everything is safe and sound.

Choosing the Right Camera System for Your Needs
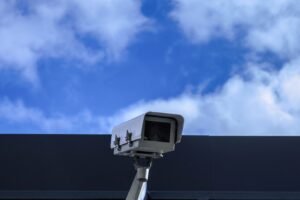
Before you begin installation, selecting the appropriate camera type is crucial. Consider whether you need wired or wireless cameras; wired systems offer reliability but require more complex installation, while wireless cameras are easier to set up but depend on a strong Wi-Fi signal. Think about indoor versus outdoor use, as outdoor cameras need to be weather-resistant. Options like dome cameras are discreet, bullet cameras are highly visible, and doorbell cameras combine security with convenience. Evaluate features such as resolution, field of view, night vision capabilities, and storage options (cloud or local) to ensure your chosen system meets your specific security requirements.
Essential Tools and Materials for Installation
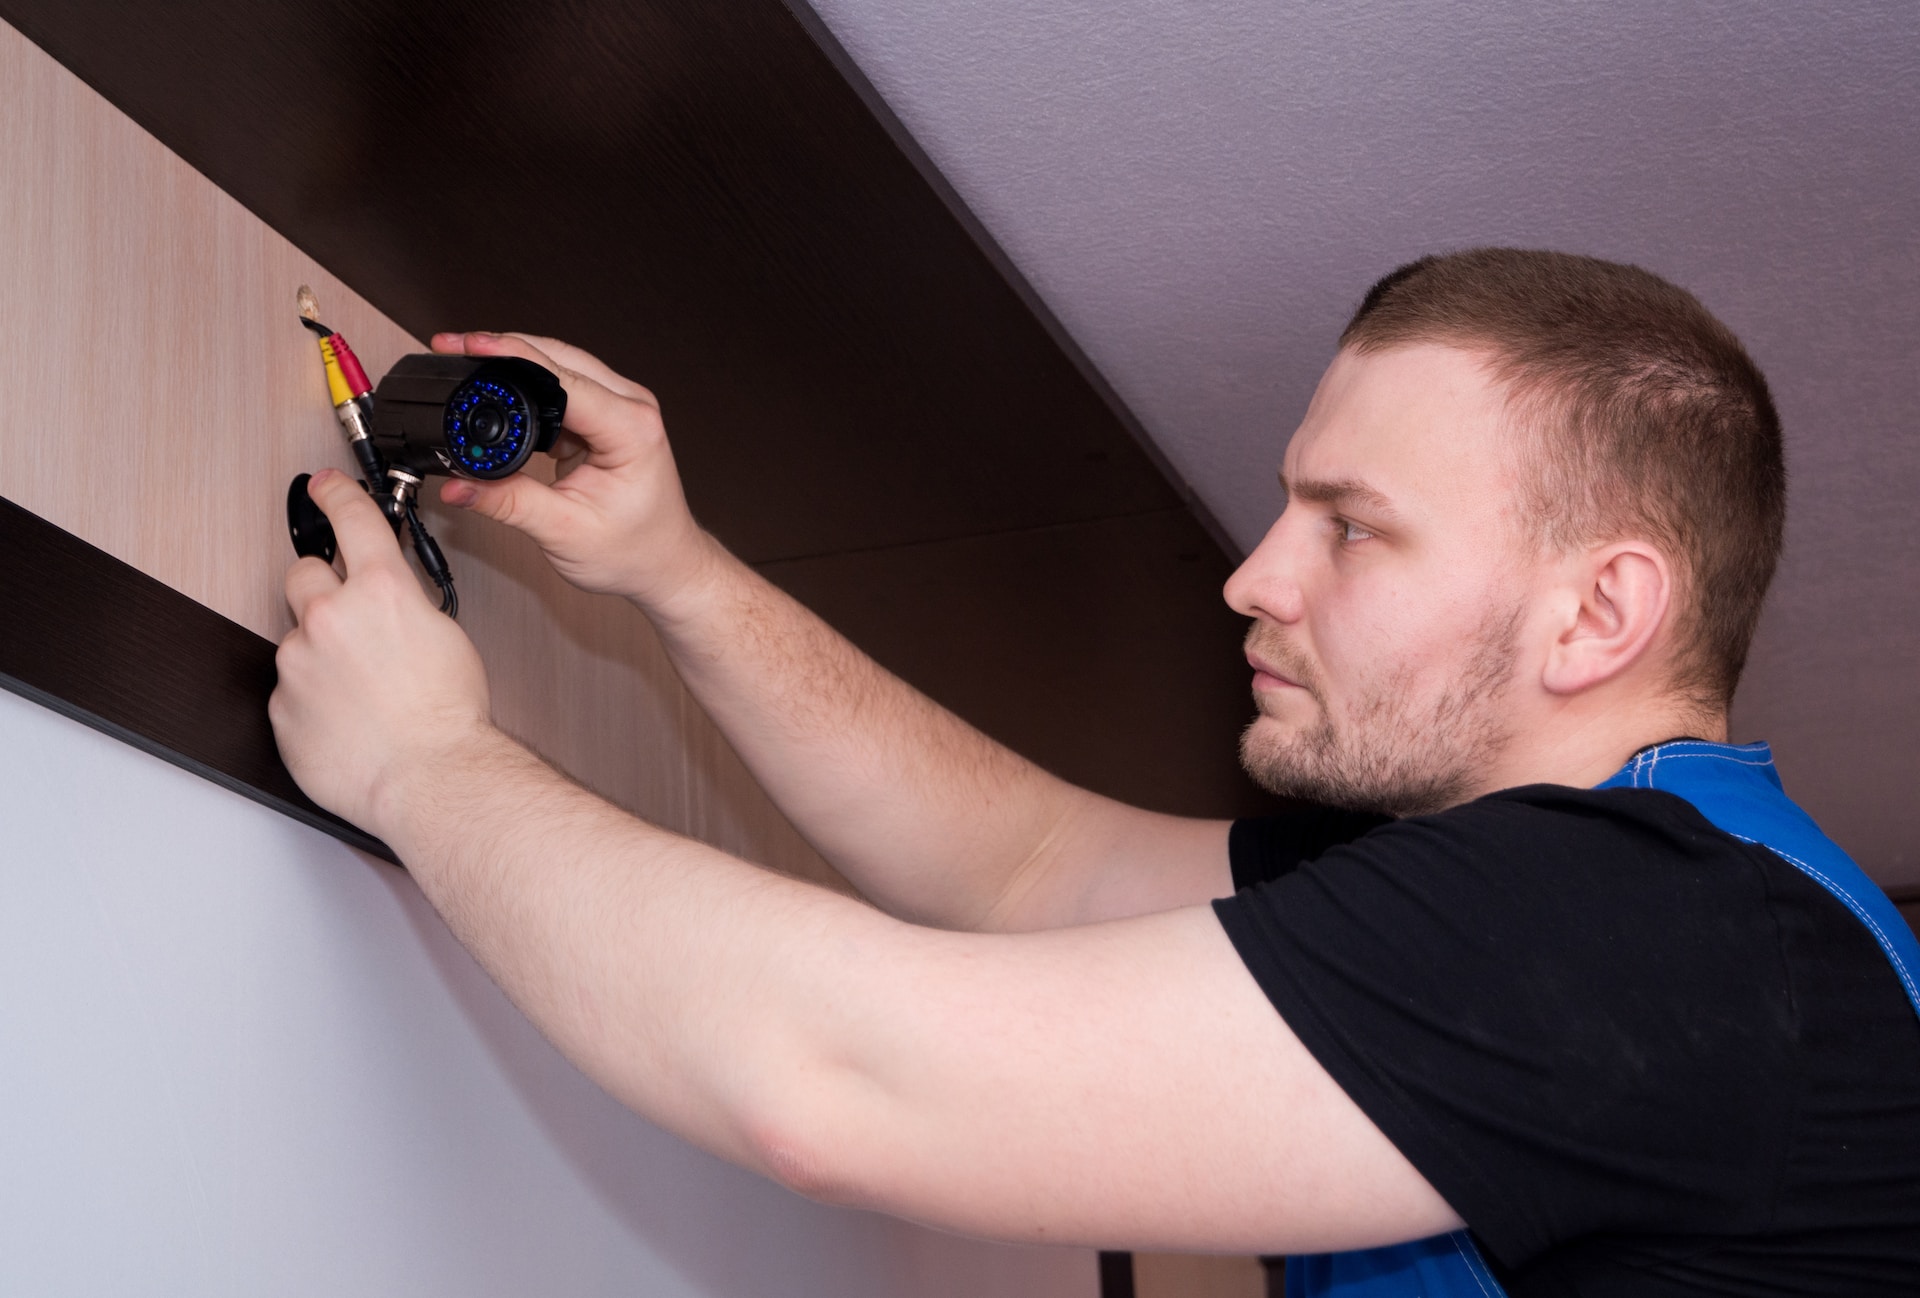
Having the right tools on hand will make your camera installation process much smoother. You’ll typically need a power drill with various bits for mounting, screwdrivers, a ladder for reaching high spots, and a pencil or marker for marking drill points. For wired cameras, you might also need wire strippers, electrical tape, and a long Ethernet cable. Regardless of camera type, ensure you have the appropriate mounting hardware (screws, anchors) that usually come with the camera, and consider cable ties or clips for neat cable management. A voltage tester can also be useful for checking power sources if you’re dealing with electrical wiring.


Step-by-Step Camera Installation Guide
Once you’ve chosen your camera and gathered your tools, it’s time to install. First, **plan your camera placement** carefully, identifying key areas and checking the field of view. Mark your drill points on the wall or ceiling. Next, **mount the camera base** securely using your drill and provided hardware. If it’s a wired camera, **run the necessary cables** for power and data, carefully concealing them if possible. For wireless cameras, ensure they are within Wi-Fi range. **Connect the camera to its power source**. Finally, **configure your camera** through its dedicated app, setting up motion detection zones, recording preferences, and testing the live feed to ensure everything is working correctly.
Tips for Optimal Camera Placement
Strategic placement is vital for effective surveillance. Focus on all primary entry points like front doors, back doors, and ground-floor windows. For outdoor areas, aim to cover driveways, garages, and any areas with high foot traffic. When positioning, try to avoid direct sunlight or strong backlighting, which can wash out images. Mount cameras high enough to prevent tampering (typically 8-10 feet), but ensure they are low enough to capture clear facial features. Test different angles using the camera’s live feed to eliminate blind spots and maximize coverage. Remember, sometimes less is more if each camera is placed strategically.

Integrating Your Camera with Smart Home Systems
Modern security cameras often integrate seamlessly with smart home ecosystems, enhancing convenience and control. Many cameras can connect to smart hubs like Amazon Alexa or Google Assistant, allowing for voice commands to view live feeds or arm/disarm systems. You can also set up automated routines, such as having your lights turn on when motion is detected by an outdoor camera at night. This integration creates a more cohesive and responsive security network, where your devices work together to protect your home. Exploring these smart features can significantly upgrade your home security experience.
Installing a home security camera system might seem daunting at first, but with the right preparation and a step-by-step approach, it’s a manageable and empowering project. By taking the time to choose the right equipment, gather your tools, and strategically place your cameras, you’ll significantly enhance your home’s security and gain invaluable peace of mind. A safer home is just a few steps away!